Your First Week in Busan: What to Do in Your First 7 Days
Also in: Tiếng Việt · Bahasa Indonesia · Bahasa Melayu · اردو · বাংলা
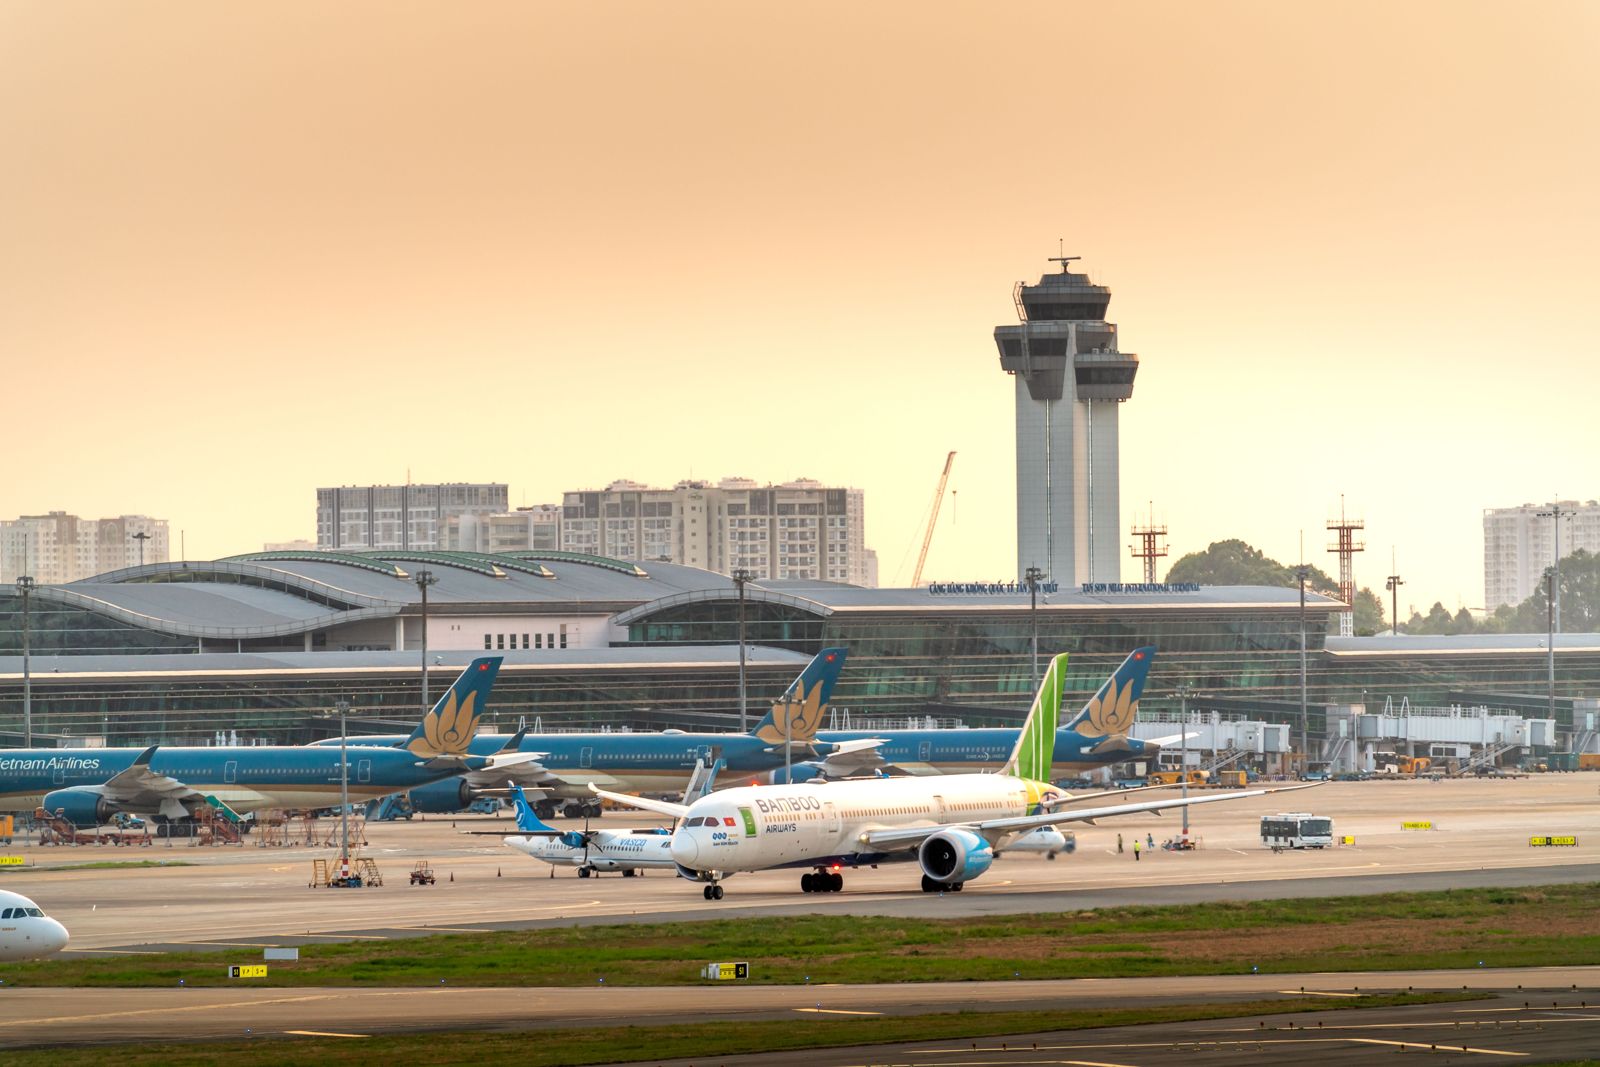
Your first week has one simple goal: get a phone number, a room with an address document, the basics for daily life, and your ARC booked. Bank upgrades, apps and work permission come later, once your ARC is in your hand. See what to do after you get your ARC.
Before you land: 4 things to have ready
- Your address in Korean. Save your dorm or room address in Korean (not only English) on your phone. Taxi drivers and forms need it.
- Printed documents. Admission letter, visa page, dorm confirmation and a few passport photos (3.5 × 4.5 cm, white background) for your ARC.
- Some Korean cash. About KRW 100,000–200,000 for your first days. Bus top-ups and small shops often need cash.
- Your university contact. The international office phone number and email, and the date of your orientation.
Day 1: arrive and reach Busan
From the airport to Busan
Most flights from South and Southeast Asia arrive at Incheon Airport near Seoul. From there you have three main options:
- Train: AREX airport train to Seoul Station, then KTX to Busan Station. About 3 to 4 hours in total.
- Bus: a direct airport bus from Incheon to Busan. About 5 hours, and you do not need to change with heavy luggage.
- Domestic flight: Incheon (or Gimpo) to Gimhae Airport in Busan. About 1 hour of flying.
If you land at Gimhae Airport (PUS), take the Busan-Gimhae Light Rail and change to the subway at Sasang (Line 2) or Daejeo (Line 3). This is the cheapest way into the city.
Staying in Seoul for your first night?
Many students land late, visit friends, or rest a night in Seoul before heading south. The easiest way into the city with heavy suitcases is the airport limousine bus: your bags go under the bus, you sit down, and you get off near your hotel. No stairs, no subway transfers.
Easiest with heavy luggage · 4.7★ · 100K+ booked
Incheon Airport Limousine Bus
- 16 routes to Myeongdong, City Hall, Dongdaemun and more
- One-way from about USD 13, or round trip
- Ticket valid for 30 days, swap it at the airport counter
Affiliate link. Show your QR code at the counter near Exits 5–6 at the airport.
At the airport
- Get a SIM or eSIM with your passport. A plan with a Korean number (010-…) is best, so your school and bank can text you. How to get a phone number in Korea →
- Get a transport card (T-money or Cashbee) at a convenience store and top it up with cash. How to use buses and the subway →
- Message your family with your new Korean number.
A map app and a translator help from the very first hour, and they need no account. You will set up the rest of your everyday apps after your ARC arrives.
Days 2–3: set up your room
Get your address document
When you check in, ask for a document that shows your address: a dorm residence confirmation (기숙사 거주 확인서) or your lease contract. You need it to apply for your ARC.
Shop for the basics at Daiso

Daiso (다이소) is Korea's biggest budget store, and the easiest place to set up a new room. Most items cost KRW 1,000–5,000, and there is a Daiso in almost every neighbourhood in Busan.
What students usually buy first:
- Hangers, slippers and a shower basket
- Storage boxes and a small drying rack
- Kitchen basics: cups, a plate, chopsticks, a sponge
- Cleaning supplies and a small trash can
- Phone chargers and multi-plug adapters
Bedding and a winter blanket are often better value at a large supermarket (Homeplus, E-mart, Lotte Mart) or online.
Learn the trash rules on day one
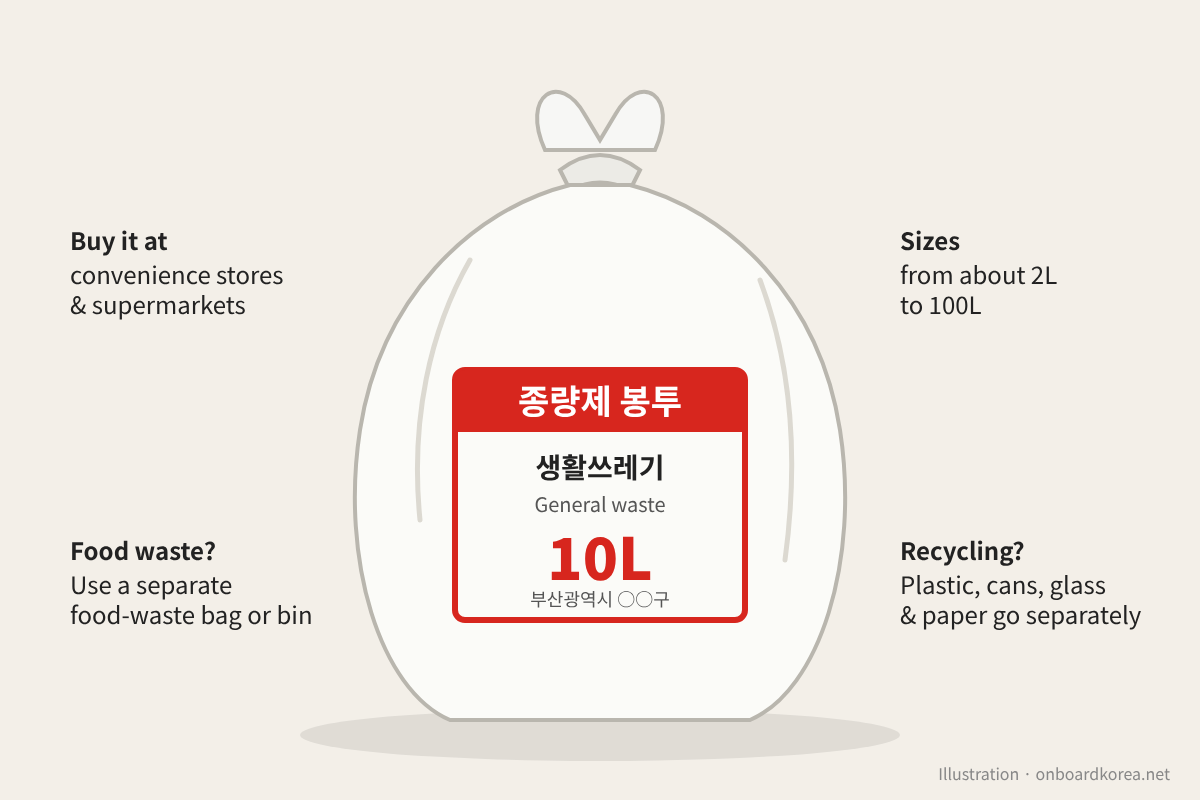
Korea has strict rules for throwing things away, and breaking them can mean a fine.
- General waste goes in official volume-based trash bags: 종량제 봉투 (jongnyangje bongtu). Buy them at convenience stores and supermarkets. Bags can differ by district (구), so buy them at a shop near where you live. Trash in any other bag will not be collected.
- Food waste (음식물 쓰레기) is separate. Drain the liquid first, then use a food-waste bag or your building's food-waste bin.
- Recycling (plastic, cans, glass bottles and paper) goes out separately, usually in a clear bag. Rinse containers first.
- Big items like a chair or a mattress need a paid sticker from your community center (주민센터).
Collection days and places differ by building, so ask your dorm office or landlord where and when to put trash out. More details: Busan City's guide to garbage disposal.
Find your place to pray
If you are Muslim, find your nearest mosque or prayer room and halal shops early. See mosques and prayer rooms in Busan, Gimhae and Ulsan and halal food in Busan.
Days 4–7: your university and your ARC
Go to orientation
This is where you learn about course registration, your student ID and the visa help your school offers. Don't skip it.
Ask the international office 3 questions
- Does the school apply for ARCs as a group?
- Which bank branch do international students usually use?
- Do I need a TB test or health check for the dorm or ARC?
Get your certificate of enrollment
Ask for two or three copies of your certificate of enrollment (재학증명서). You need it for your ARC, your bank and your part-time work application.
Book your ARC
You must apply within 90 days of arrival, but book in your first week. Appointments fill up fast in March and September.
- Group application: many Busan universities book for you. You still visit immigration once for your fingerprints.
- On your own: book a visit on HiKorea for the Busan Immigration Office in Jung-gu.
Bring: application form, passport, one photo, certificate of enrollment, proof of address and the fee (KRW 35,000). Step by step: how to get your ARC.
Open a basic bank account (optional this week)
You can usually open an account before your ARC with your passport, certificate of enrollment and Korean phone number. It starts with low daily limits, and you will upgrade it after your ARC. Bank account guide →
Save these numbers today
- 112 Police · 119 Fire and ambulance
- 1345 Immigration Contact Center (20 languages, including Bengali)
- 1577-7716 Busan Global Center
Who to call when you need help →
Your first-week checklist
| When | Task | Where |
|---|---|---|
| Day 1 | SIM or eSIM, transport card, cash | Airport, convenience store |
| Days 2–3 | Address document, room basics, trash bags | Dorm office, Daiso, supermarket |
| Days 4–7 | Orientation, certificate of enrollment | Your university |
| Days 4–7 | Book your ARC | International office or HiKorea |
| Optional | Basic bank account | Bank branch near campus |
Next: Got your ARC? 8 things to do next in Busan →
Want all of this in one checklist? Get the free Korea Arrival Checklist.
Get the free checklistComments & student tips
Did something change, or did you do it differently? Share it here and help the next student. Every comment is checked by our team before it appears.
Loading comments…